Teaching plants in science

How can I make sure there is progression when teaching plants?

This is a common problem, as pupils are taught first introduced the topic of plants in KS1, it begins in years 1 to 3, plus they will have grown a plant in FS2. So when you come to teach it, how do you know you are progressing their knowledge.  

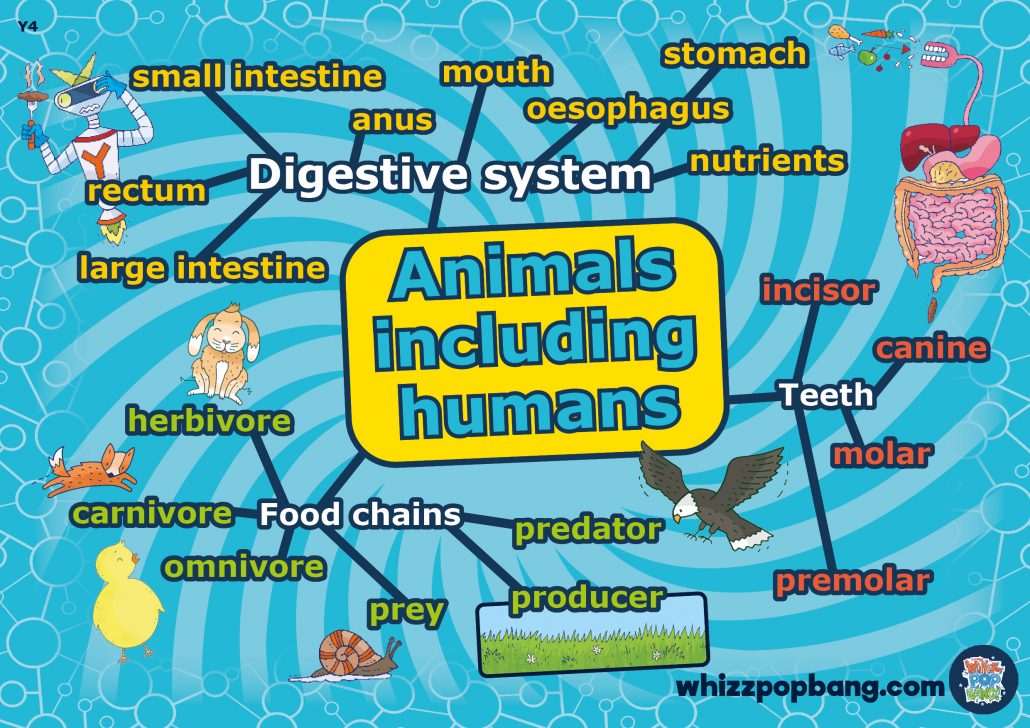
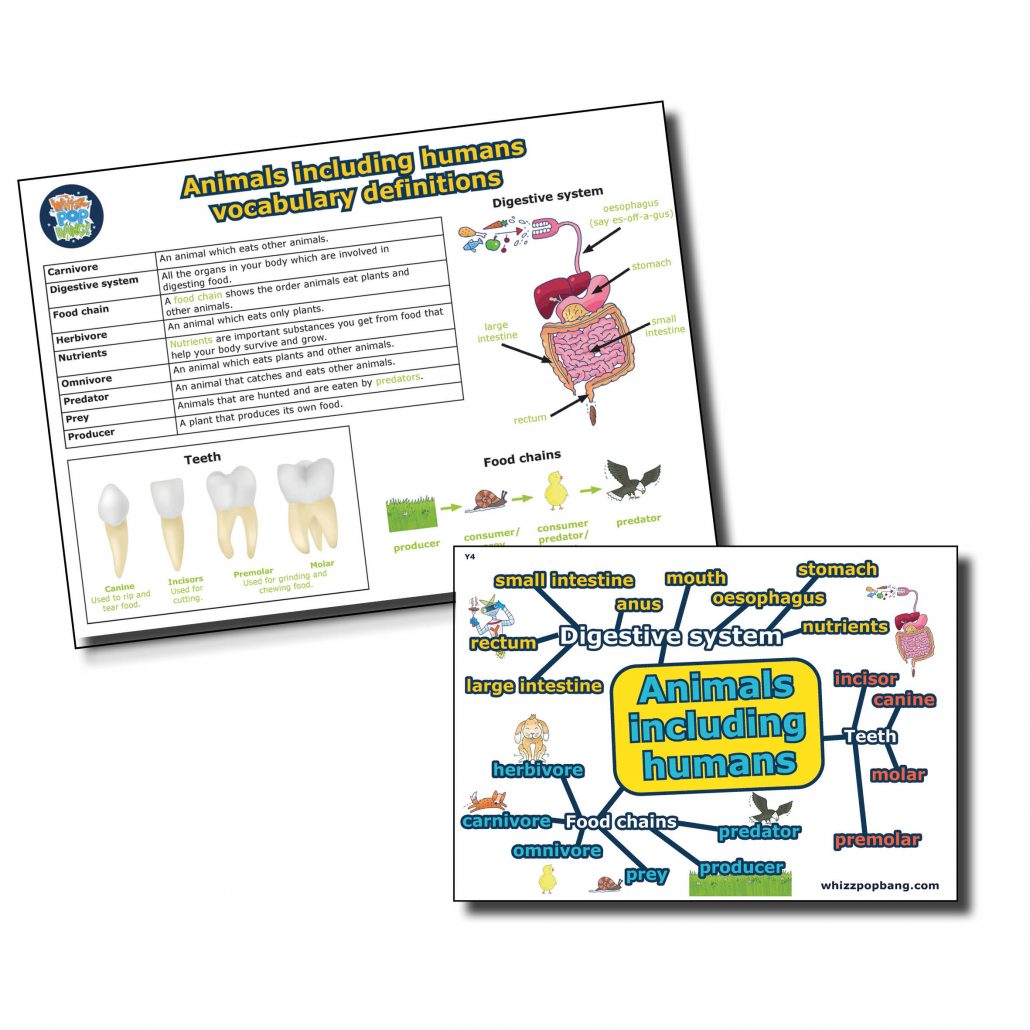
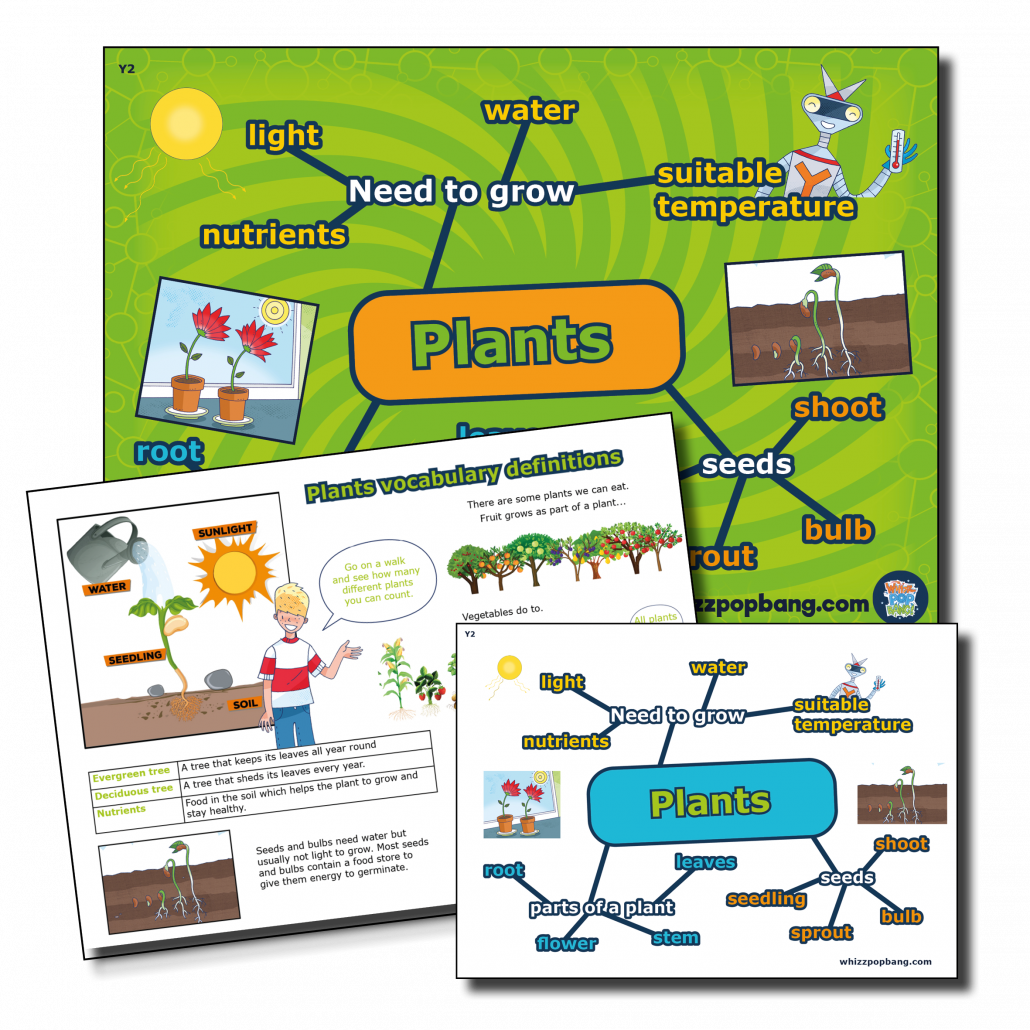
It is key to know what the children have done the previous year. Before you even start planning, have a conversation with their previous teacher to find out what they have covered and what they have grown. We have produced knowledge organisers which are specific to each year group. They state the vocabulary and content that teachers should cover for their year group to help ensure progression.

FS2 and Year 1 Science

In foundation stage, children will have explored different plants and planted seeds and seen that they grow. There will have been lots of observations and not much recording. In year 1, they will have built on this by growing a plant in soil and considering what it needs to grow. They will have been exposed to and encouraged to use simple vocabulary to name the basic parts of a plant. They will have also labelled the parts of a plant and probably created a diary observing a plant’s growth.

Year 2 Science

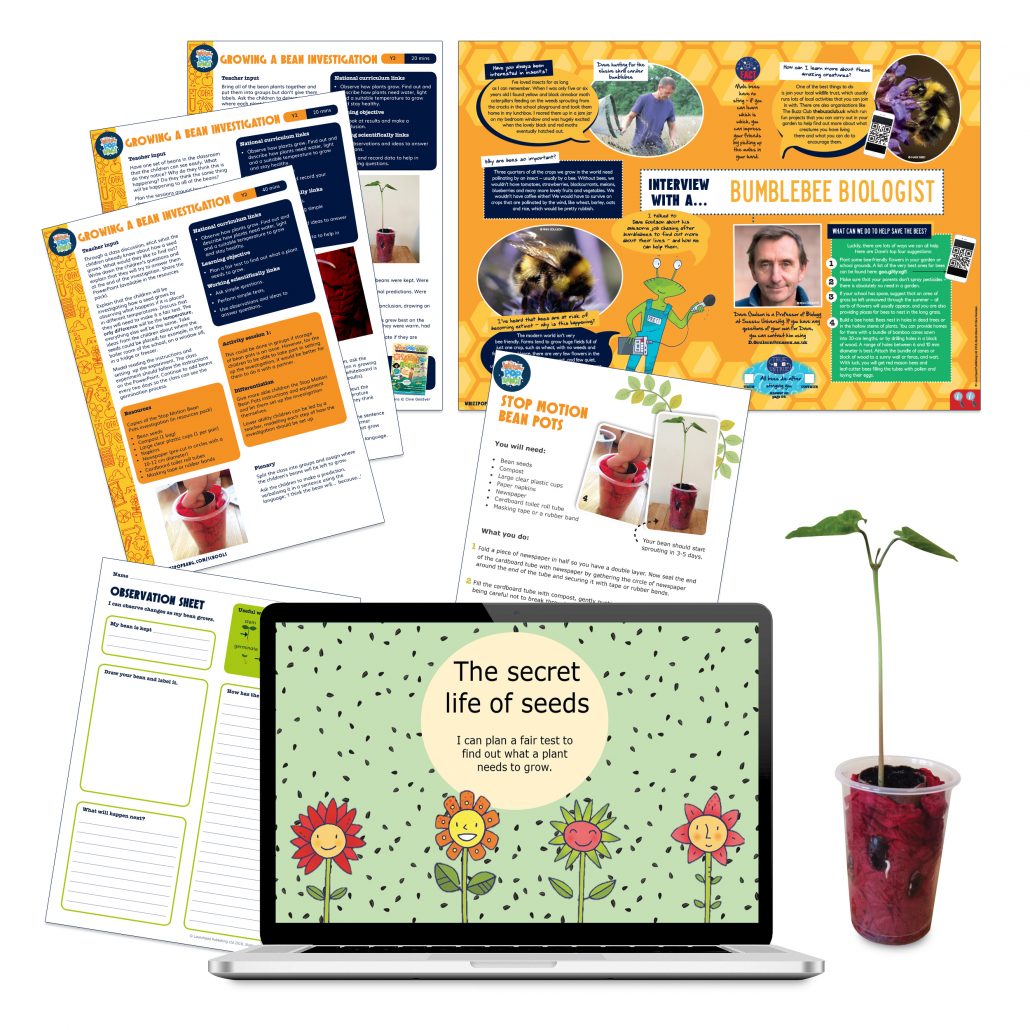
In year 2, pupils will grow plants again, but this time they will start to set up simple investigations that draw on all the knowledge and vocabulary they have learned in the past two years. For example, we have produced a lesson pack where pupils will grow beans – which they may have done before, but they will set it up in a controlled way. They will observe what happens to the bean and they will be able to see the different stages of growth. They will control either the amount of light or the amount of water the bean gets.

Lesson pack for teaching plants to KS1 and KS2.

Year 3 Science

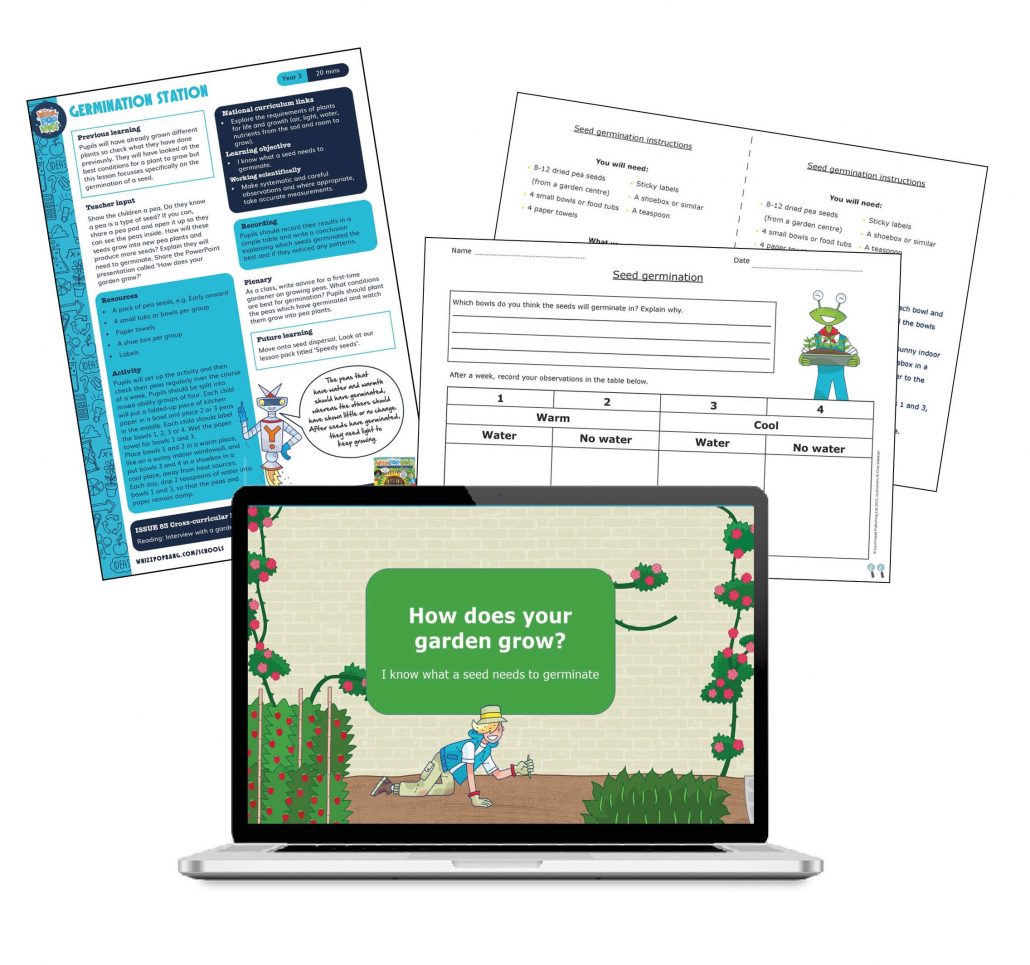
Moving from teaching plants in KS1 to KS2. When it comes to teaching plants in year 3, I cannot stress enough the importance of checking what they have already covered. Years 2 and 3 have similar objectives about exploring what plants need to grow. The key difference in year 3 is that they should be measuring the amount of light or water. For example, our pea germination investigation covers requirements for growth, but it also requires pupils to measure the amount of water given.

Year 3 science lesson about plants and germination for KS2.

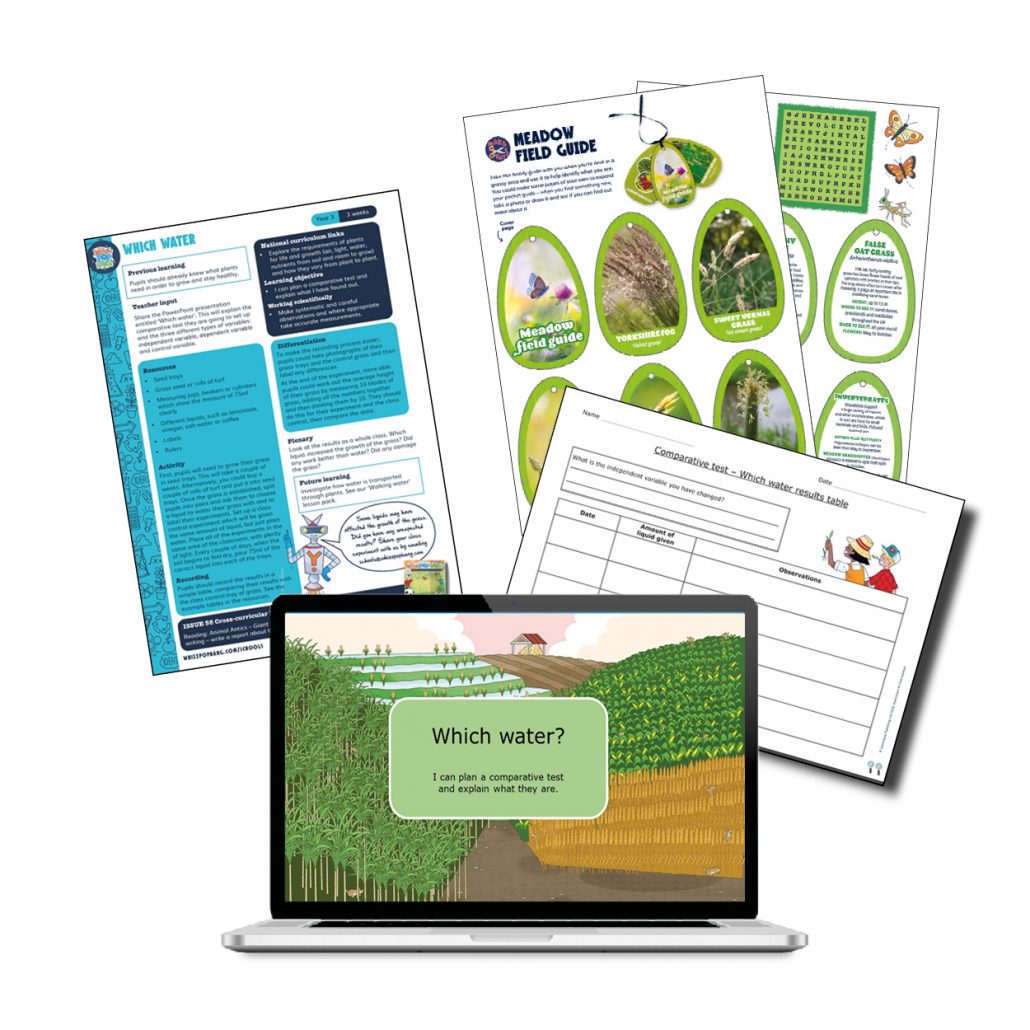
We also have other packs which require different measurements in investigations and different types of enquiry. This lesson pack is a comparative investigation.

Comparative demonstration about plants' water needs for year 3 science lesson KS2.

If you find the year 2 teacher has already done a lot of investigations that cover the requirements of growth, the good news is that gives you more time to look into some of the other areas in more depth.

Learning about nutrients in the soil and seeing how the soil drains so plants can grow properly and don’t rot is important.

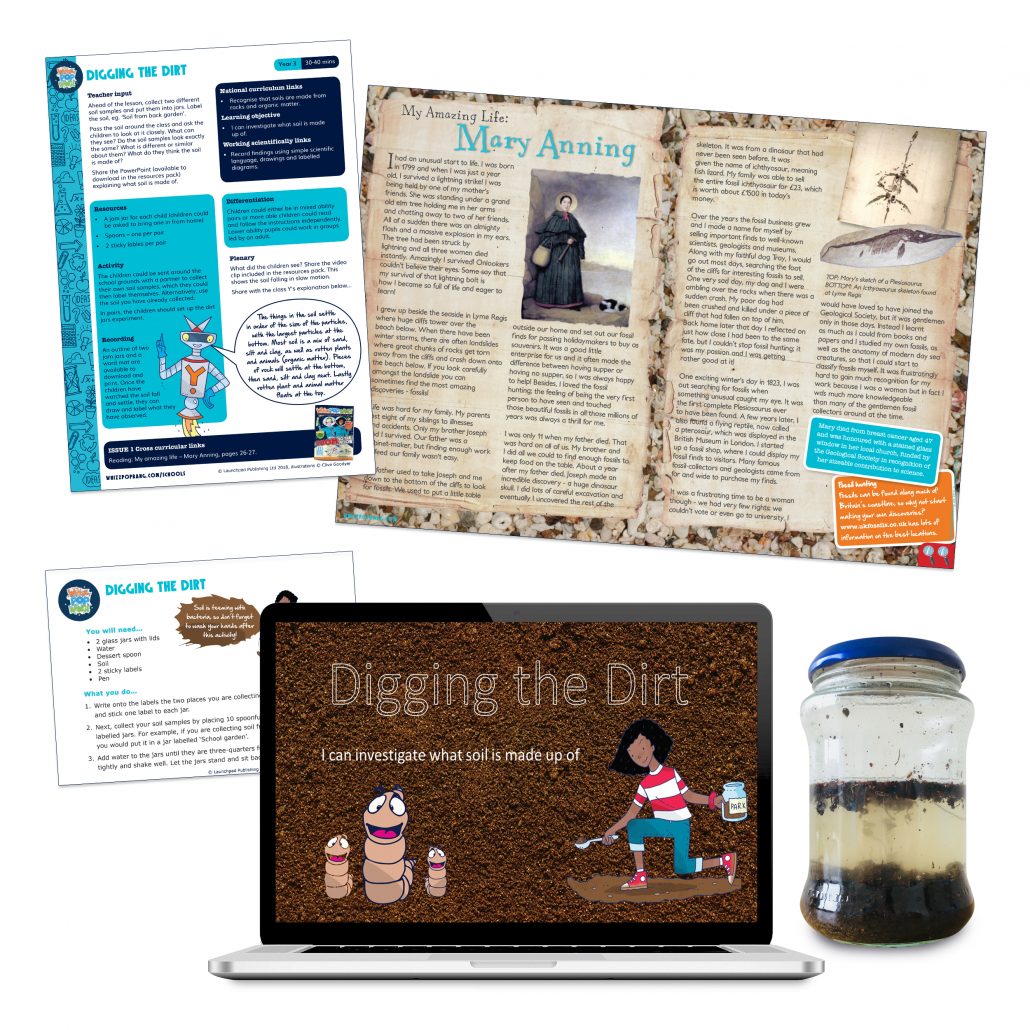
Year 3 science lesson about nutrients and soil for KS2.

Also in year 3, you are required to cover how plants transport water. We have a great activity which demonstrates capillary action.

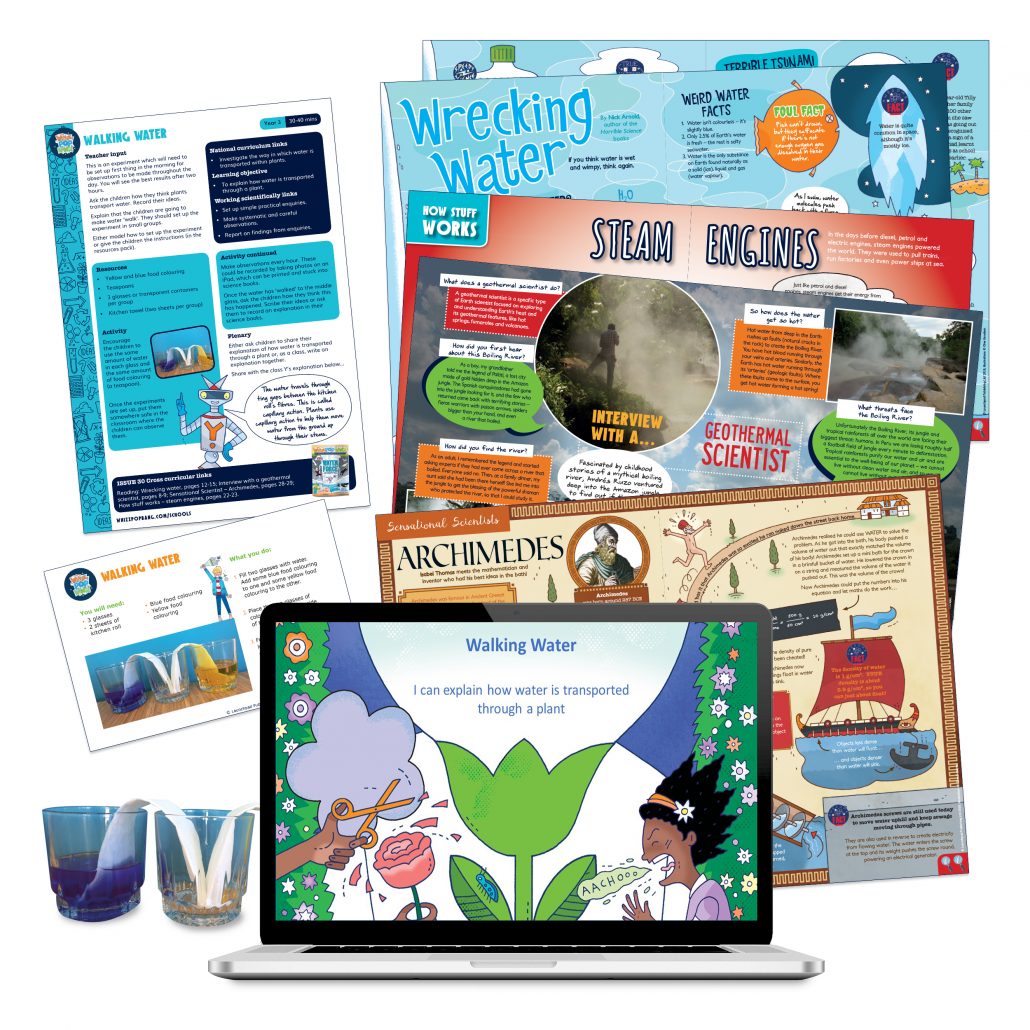
Year 3 science lesson about capillary action for KS2.

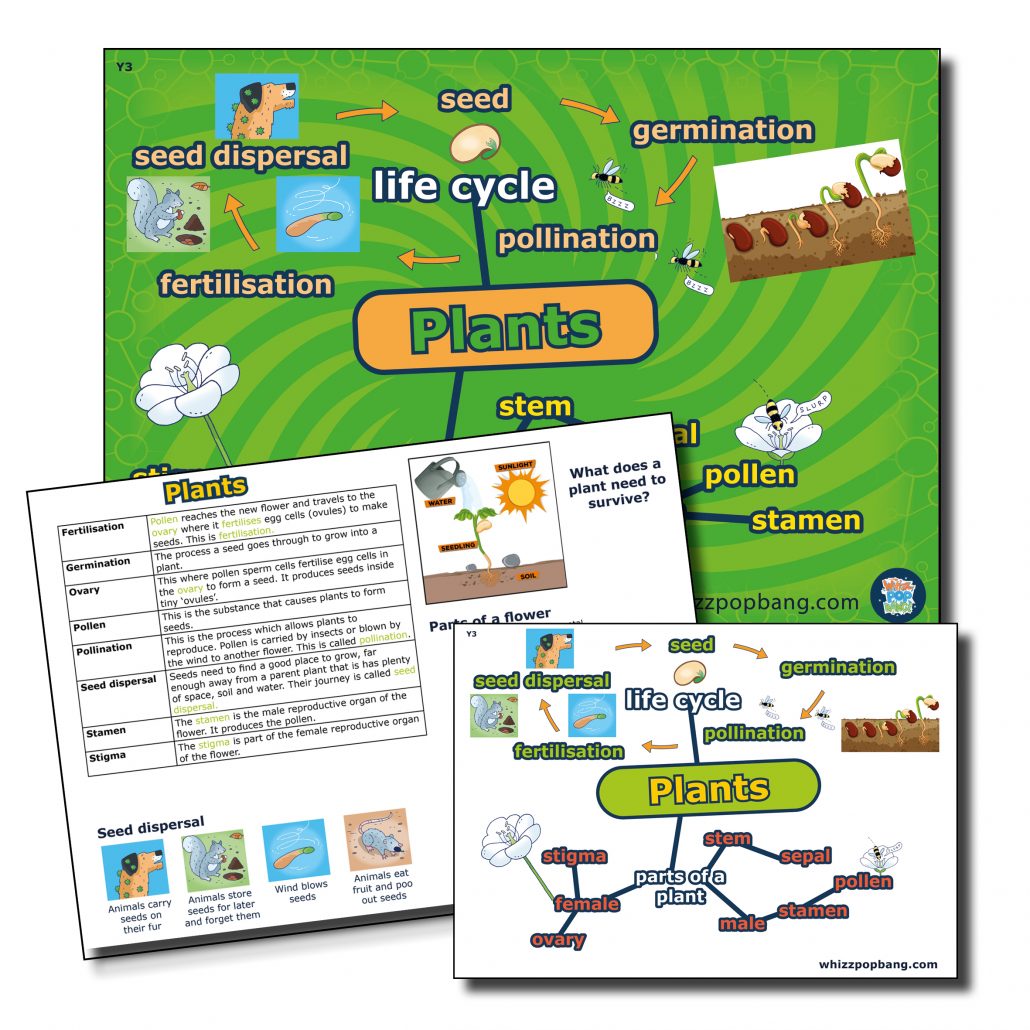
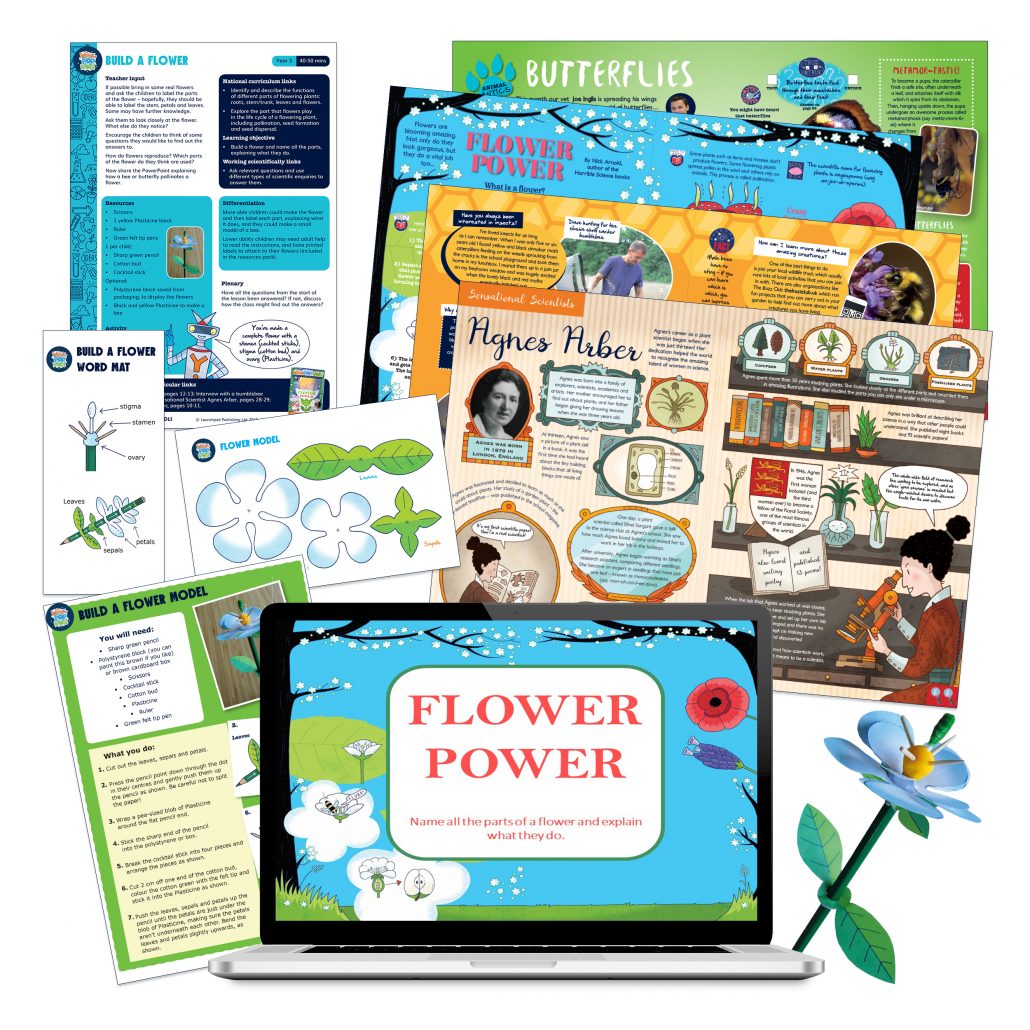
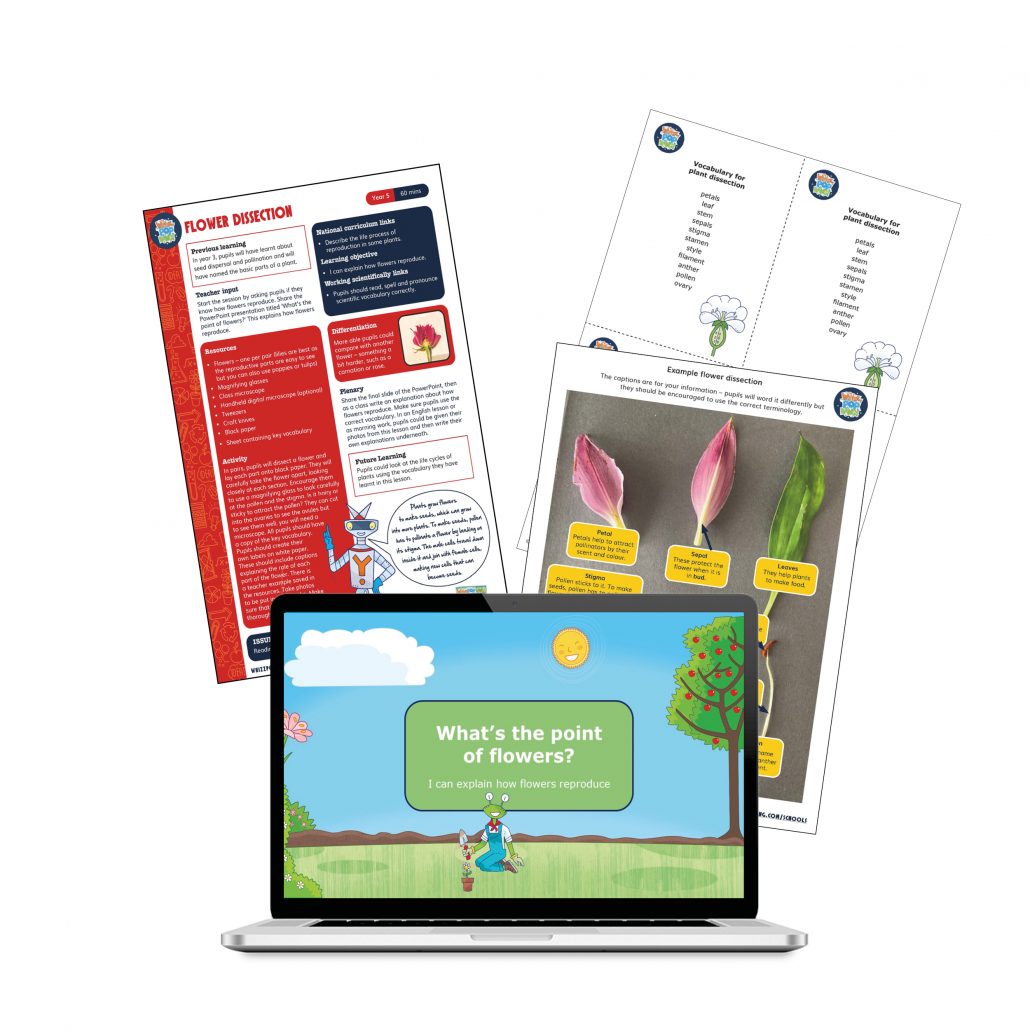
Pupils need to know the parts of a flower and this time in more depth, including the basics of pollination and seed dispersal. Pupils should start to dissect flowers and weeds and see if they can name the different parts. This sets up a good foundation for when they come back to it in year five and look at how plants reproduce. We have created a ‘build a flower’ pack for year 3 and also a flower dissection pack for year 5 – this ensures progression between the year groups.

If you would like some FREE samples, sign up here for a magazine and an example lesson pack for years 2 to 6.

How much does it cost to gain access to all of the Whizz Pop Bang resources?

Prices start from as little as £197.99 per year for a copy of Whizz Pop Bang magazine through the post each month and whole-school access to our ever-growing library of downloadable teaching resources, with unlimited teacher logins.

We have an individual membership option so teachers and home educators can access all of our amazing downloadable resources for just £20 for the whole year

“Whizz pop Bang has developed a refreshing look at science and its resources bring this subject to life” Class teacher Caroline Burton


Post Comment

How to save the world

The latest report from the International Panel on Climate Change (IPCC) says we have to take urgent action to avoid the worst effects of the climate crisis. Young people can’t vote, but can help to get the message out in other ways. Here are some ideas of how to take action, including a template letter to send to your MP. 

  • Ask your school to start an eco club to raise awareness.
  • Help organise or attend a protest.
  • Write to your local MP and other politicians (e.g. energy and climate change minister, PM, etc.).

Taking action can help you to feel less worried about the climate crisis, here are some useful websites with more information about how to get your voice heard:

https://xryouth.uk/

https://www.sosfromthekids.com/

https://fridaysforfuture.org/take-action/


Post Comment

COMPETITION CLOSED: WIN a Build Your Own binoculars kit!

We’ve got SIX build your own binoculars kits from Build Your Own to give away to lucky winners! Ignite a child’s curiosity with these fully functioning, binoculars that kids big or small, can build themselves. Lightweight and ergonomically designed, these robust, sustainable cardboard binoculars make it easy to enjoy time together outdoors.

Each kit comes with everything you need to bring the world (six times!) closer, perfect for bird watching, nature walks, observing wildlife and more.

To be in with a chance of winning one of six Build Your Own binoculars kits, simply answer this question in the comments:

The part of the binoculars that magnifies the image is called…

A) the lamp
B) the lens
C) the loud speaker

Good luck!

This competition closes at midnight on Thursday 30th June 2022. Whizz Pop Bang competition terms and conditions are here.


Post Comment

What is a Whizz Pop Bang lesson pack?

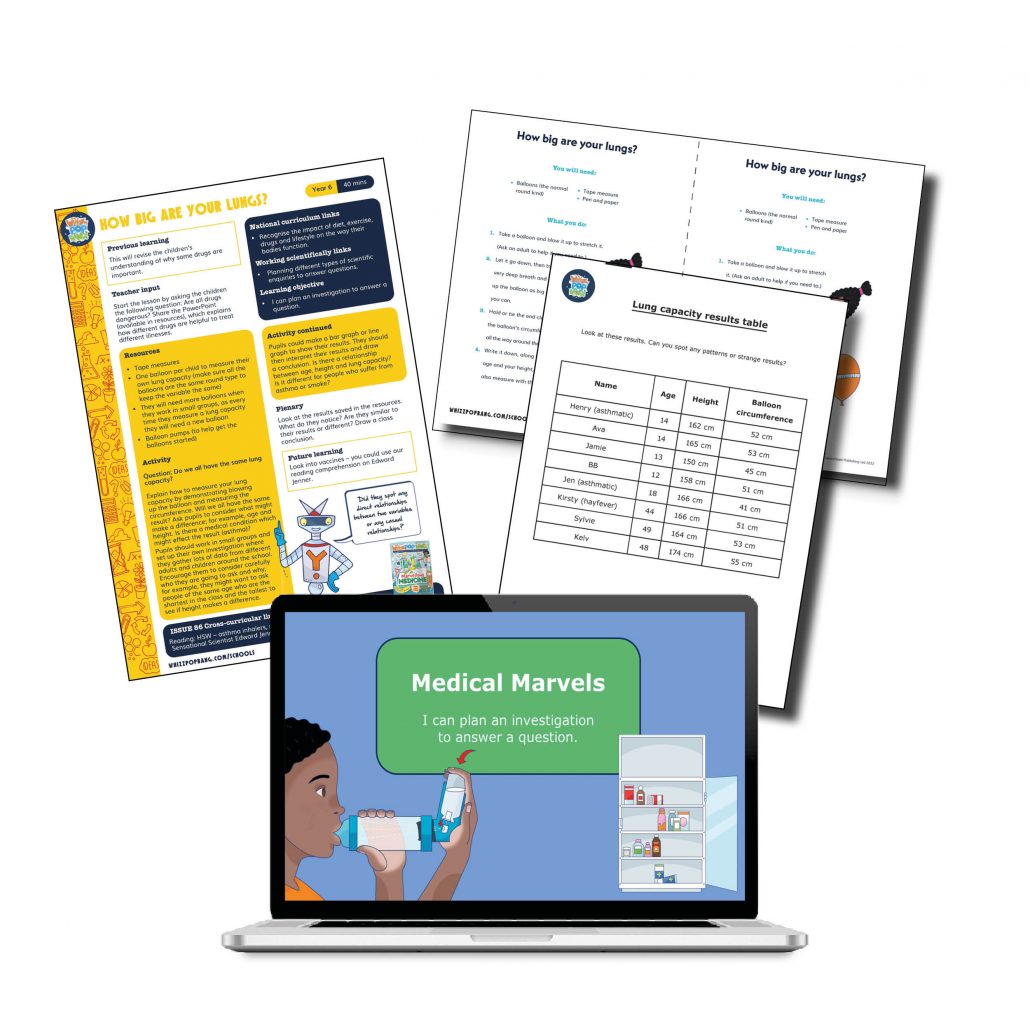
Included in the Whizz Pop Bang downloadable school resources are lesson packs written by experienced primary school teachers. The packs are complete lessons for specific year groups and linked to the National Curriculum. They contain everything you need to teach the lesson, apart from some inexpensive resources. Each lesson pack contains:

  • A curriculum linked lesson plan
  • A PowerPoint presentation to run the lesson
  • Any other sheets you might need; for example, tables to record results

The Whizz Pop Bang resources are not scheme of work, but our lessons are not one-offs either – they will fit into your medium-term plan. To help you do this, on each lesson plan is a box that states the previous learning your pupils should have done and a box suggesting future learning. This helps you to ensure a clear progression of skill and learning.

Primary school teachers are expected to remember a huge amount of information for every area of the curriculum. To help, on each lesson plan we explain the science behind the lesson – just look for our robot, Y!

Our PowerPoint presentations give information around the subject area in an engaging, child-friendly way, using illustrations from the magazine.

All the files in a lesson pack are stored in one handy zip file, making them quick and easy to download from our website. We know how precious a teacher’s time is!

Reading links

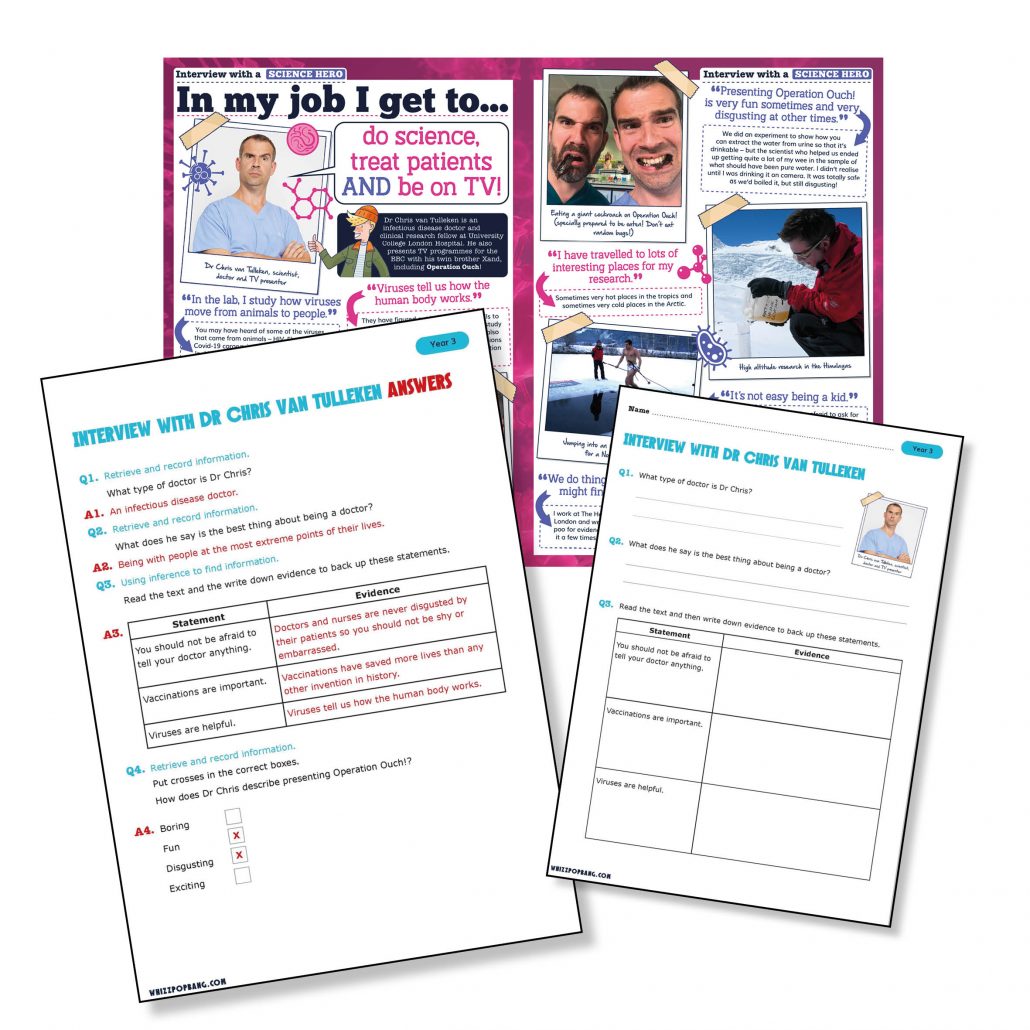
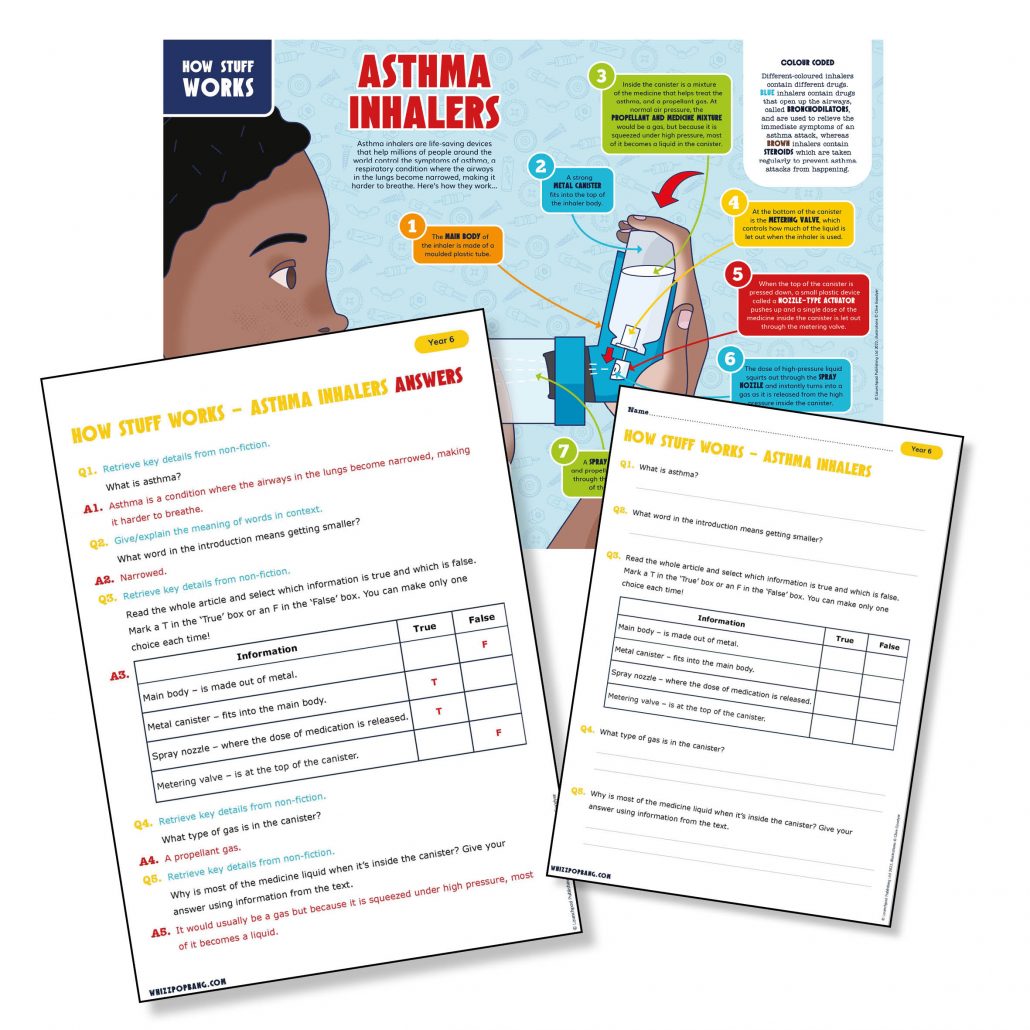
Each lesson plan includes links to reading comprehensions that are also part of our downloadable resources. Often, lessons link to other areas of the curriculum too, such as maths and computing.

Why did we produce lesson packs?

Our aim is to help teachers inspire future scientists and to reduce your workload! Our lessons are practical: they are experiments, investigations, games and makes. If you are looking for hundreds of worksheets and lots of marking, our resources are not for you!

“Engaging colourful resources designed to capture the children’s attention and encourage enquiry and questioning.” Rachael Howard Hatherop, C of E Primary School


Post Comment

Teaching the unit sound in year 4

Are you looking for planning resources for teaching sound in year 4? Here’s how you can use our downloadable teaching resources to easily create memorable lessons that produce the sticky knowledge Ofsted will be looking for…

Where to start?  

Sound is a fun topic to teach but it can be tricky to explain how sound travels in waves as the children can’t see it. We have lots of interesting ways to help your pupils explore and ‘feel’ sound, which cover the National Curriculum objectives you need to teach.

Telephones lesson pack

This pack links to our Victorian Science issue. This lesson is a great introduction to sound and begins with pupils feeling sound waves through a balloon. In pairs, they will create a simple string telephone and investigate how it works. Using photographs or a labelled diagram, they will then start to explain how sound travels from one cup to the other. As with all our lesson packs, the science is explained in the lesson plan and on the last slide of the PowerPoint presentation.

Bottle blower lesson pack

In this lesson, pupils will investigate how pitch changes when you alter the amount of water in a bottle. This links to our brilliant issue on sound called ‘Turn up the volume’, which is available to buy from our website.

Pin strummer lesson pack

This is a great lesson to teach towards the end of your unit on sound. Pupils will use the knowledge they have acquired and apply it to their own practical enquiry. They will make their own musical instrument – a pin strummer – and then change different variables to see how the pitch and volume changes.

How to evidence your practical lessons

If your planning isn’t enough evidence, pupils could use the Keynote app on an iPad and record themselves describing their investigation or activity. If you need evidence in their books, you could print a photo from the lesson and during morning work the next day, pupils could label and annotate it. This would mean that they go back over their learning from the day before, helping the knowledge to stick. Do pupils need to write each step of an experiment? In my experience, asking pupils to write down everything they have done kills the learning. Choose one part from each investigation; that way they will do it well and it will enhance learning. Our knowledge organisers are really helpful with spellings and also help pupils to remember key concepts and vocabulary.

How to embed science across the curriculum

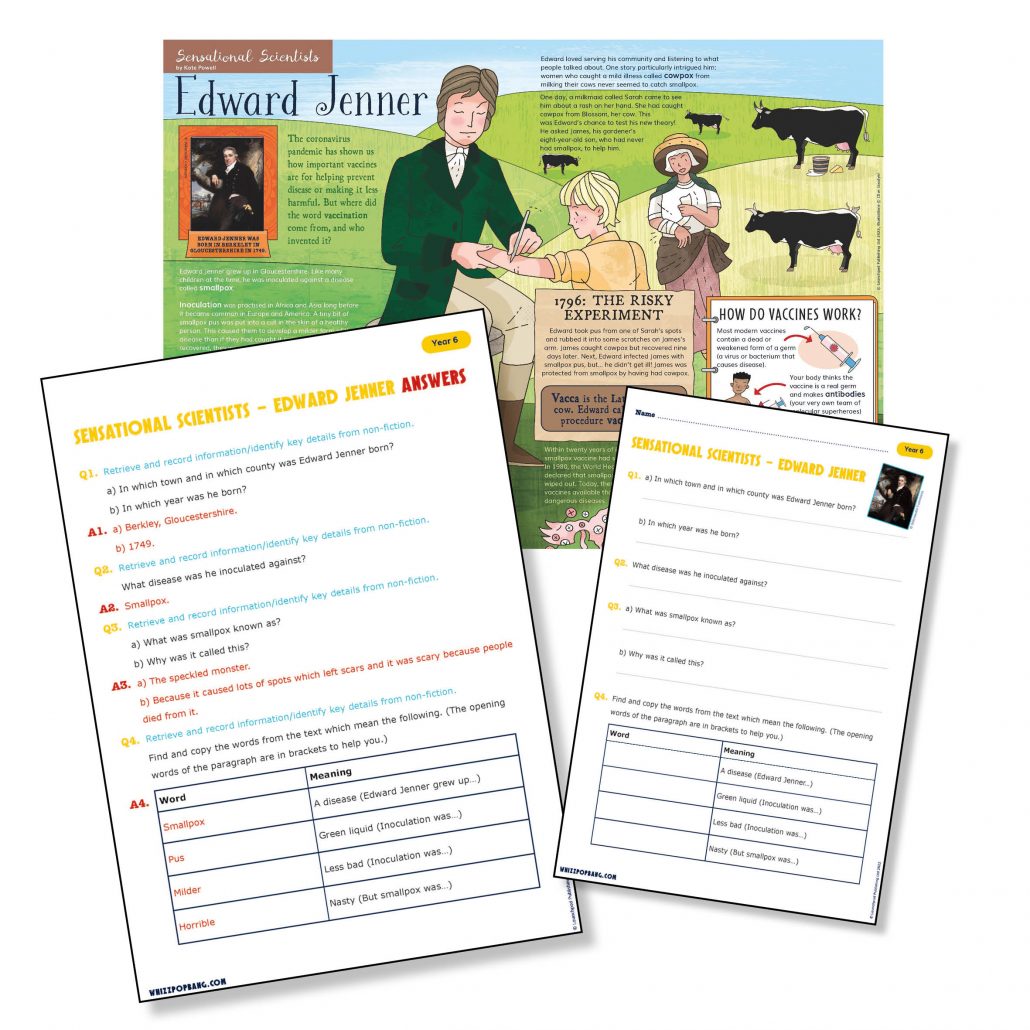
There are lots of ways to embed the pupil’s science learning in your school day. Using science texts in guided reading or whole-class reading sessions is an easy way for children to delve further into the subject matter and acquire more knowledge. We have several reading comprehension packs for year 4 linking to the topic of sound:

Whizz Pop Bang magazine and teaching resources are brilliant ways to enhance your school’s science teaching:

  • We provide downloadable science lesson plans, PowerPoint presentations, hands-on investigations and science reading comprehensions written by primary school teachers.
  • Whizz Pop Bang teaching resources link to the National Curriculum, ensuring correct coverage.
  • All of our resources are year group specific, ensuring progression between the years.
  • We make cross-curricular links to other subjects, such as English, Maths, History, Geography, Art, Design and Technology and PSHE.

Prices from as little as £197.99 per year for a copy of Whizz Pop Bang magazine through the post each month and whole-school access to our ever-growing library of downloadable teaching resources, with unlimited teacher logins.

We have an individual membership option so teachers and home educators can access all of our amazing downloadable resources for just £20 for the whole year

“We used the Bottle Blower investigation to discover how pitch changes. The children loved it and the resources were clear and colourful. The reading comprehension on the foley artists had my class fascinated with the subject matter as they were completely unaware what a foley artist was. Great to have the resources differentiated!” Mrs Godwin, Year 4 Class teacher


Post Comment

COMPETITION CLOSED: WIN Build Your Own marble run!

We’ve teamed up with Build Your Own to offer 6 lucky winners the chance to win a super cool Eco Marble Run.

This eco-friendly, STEM-inspired Marble Run is assembled using slot together techniques – no glue, no mess, no fuss. Everything you need is provided in the kit – follow the detailed instructions: press out the pre-cut parts, build and watch them go!

Wind the handle to raise the 10 swirly glass marbles up the elevator; then watch as they speed down one of the three different neon coloured tracks. Enjoy endless fun as the marbles twist, turn, drop down the steps, and then whizz round the vortex cone before racing to the finish! Which marble will win?

Budding engineers will enjoy the challenge of the construction. And once built, the Marble Run stands at an impressive 50 cm tall, and has 3 different neon courses with run switches to randomise the marble directions.

Building the Marble Run will encourage children to use their imagination and problem-solving skills. Plus, they’ll learn about physics and kinetic energy as they play.

Build Your Own are the creators of an exciting range of award-winning, STEM-inspired children’s toys that you can build yourself. The Build Your Own range is suitable for ages 8 to 100!

Marbles were a popular toy in the Victorian era, to be in for a chance to win one of 6 Marble Run Build kits simply answer this question in the comments:

What years did the Victorian Era span?

A 1837 – 1901

B 1850 – 1950

C 1890 – 1991

This competition closes at midnight on 30th May 2022. For full terms and conditions visit whizzpopbang.com/terms-and-conditions


Post Comment

How to spot the Lyrid meteor shower 2022

The best time to spot the Lyrid meteor in the UK in 2022 is on the night of 22nd – 23rd April. The Lyrids begin on the 14th April this year which is 2 days before a full moon so the sky will still be pretty bright at the peak of the shower which will make spotting meteors a bit tricky – but don’t be deterred! Follow these tips from the Royal Observatory in Greenwich for the best chance of meteor-spotting.

For full information about the Lyrids meteor shower, head to this article on the Royal Museums Greenwich website.

☄️Find a dark site with an unobstructed view of the sky.
☄️The best time to see the shower is in the early morning of the peak day, which this year is the morning of the 23rd April (the night of the 22nd April).
☄️Fill your view with the sky and wait! Lying on the ground is a great way to see as much as possible.
☄️Look towards the Vega constellation – here’s a handy map showing how to find it at this time of year thanks to Astronomy Now.
☄️Blanket optional but highly recommended. Reclining deckchairs make an even more comfortable way to view the sky.
☄️Remember to wrap up warm!

Image: Canva

Whizz Pop Bang is a top-quality, gender-neutral, advert-free science magazine for families everywhere. Each issue is packed with experiments, activities, amazing facts, puzzles, jokes, riddles and more. Find out more here and flick through a space-themed issue here!


Post Comment

Make a wind turbine

Whizz Pop Bang is the world’s most awesomely amazing kids’ science magazine, bursting with hands-on experiments, facts and fun, and we want to help support you when teaching your children about science!

Here is a FREE printable, hands-on science experiment to make a model wind turbine which will help you entertain, excite and educate any primary aged child!

Our science activities are downloadable and printable and are designed for children from 6 to 12, but this downloadable activity is particularly perfect for year 2, P3 (Scotland) and 6-year-olds and 7-year-olds as they tie in with the relevant National Curriculum objectives and topics.

Print, cut and craft a working wind turbine!

You will need:
Printable template (below)
A paper straw
A wooden skewer
A stapler and staples
A few beads that are large enough to thread onto the skewer
Sticky tack

Bonus activity: upside-down glass experiment

This activity is taken from Whizz Pop Bang’s Awesomely Amazing Science Club – download the entire pack here!

If you have any comments or questions about our free year 2 science experiments and reading comprehensions, please leave a comment for us. Or do you have any science homeschool ideas or general home educating ideas for 6 and 7-year-olds? We’d love to hear from you!

Find loads more science activities, puzzles and games in our award-winning monthly kids science magazine, Whizz Pop Bang!

Whizz Pop Bang magazine and teaching resources are brilliant ways to enhance your school’s science teaching:

  • We provide downloadable science lesson plans, PowerPoint presentations, hands-on investigations and science reading comprehensions written by primary school teachers.
  • Whizz Pop Bang teaching resources link to the National Curriculum, ensuring correct coverage.
  • All of our resources are year group specific, ensuring progression between the years.
  • We make cross-curricular links to other subjects, such as English, Maths, History, Geography, Art, Design and Technology and PSHE.

Prices from as little as £197.99 per year for a copy of Whizz Pop Bang magazine through the post each month and whole-school access to our ever-growing library of downloadable teaching resources, with unlimited teacher logins.

We’ve also launched a new individual membership option so teachers and home educators can access all of our amazing downloadable resources for just £20 for the whole year. 


Post Comment